Category: Audiovisual Equipment

  • Zoom H1n Handy Recorder

    Zoom H1n Handy Recorder

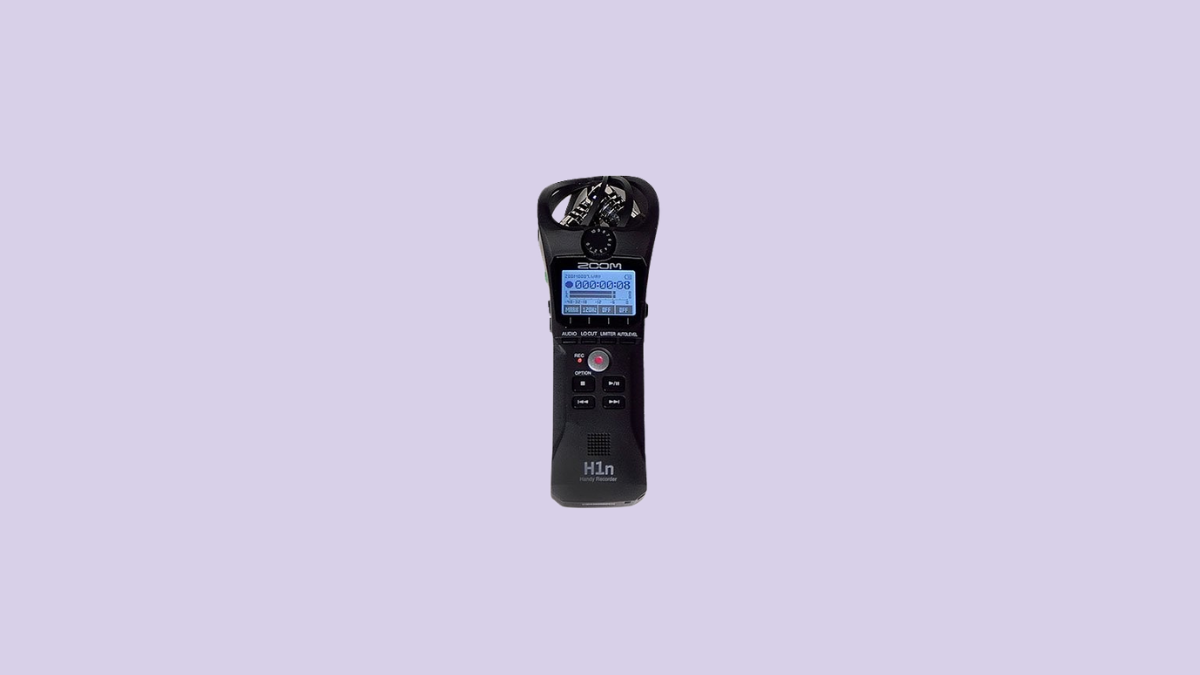
    The Zoom H1n Handy Recorder is a compact, easy-to-use portable audio recorder designed for interviews, lectures, podcasts, and field recording. It features built-in stereo microphones, simple controls, and high-quality digital recording, making it ideal for beginners and experienced users alike. The H1n allows you to quickly capture clear, professional sound with minimal setup, whether you’re recording speech, music, or ambient audio.

    1. Getting Started

    • Insert a microSD card into the slot on the side
    • Insert two AAA batteries
    • Slide the Power/Hold switch down to turn the recorder on
    • Wait for the screen to fully load

    2. Choosing a Recording Format

    • On the front of the recorder, locate the Audio button
    • Determine your format and quality
    • Click to MP3 for smaller file size or 48k 16 bit for a wav file

    While WAV is recommended for editing projects, MP3 can be read by nearly any program making it easier to work with.

    3. Positioning the Built-In Microphones

    The H1n has fixed X/Y stereo microphones on top.

    • Point the microphones toward your sound source
    • Place the recorder on a table or tripod when possible
    • Avoid touching the recorder during recording
    • Keep it about 6–24 inches from the source

    4. Setting Input Levels

    To manually set the input level:

    • Press the Auto Level button on the front of the device once to turn it off
    • Spin the numbered wheel on the front of the device while watching the meters on the screen
    • Adjust the dial so peaks reach between –12 dB and –6 dB

    5. Recording Audio

    • Press Record to start recording
    • The timer will begin counting
    • Remain still during recording
    • If you need to pause the recording, hit the play/pause button once and hit the same button again to restart
    • Press Stop when finished to stop recording

    6. Playing Back Your Recording

    • Press the Play button
    • Use the forward/back buttons to select files
    • Adjust volume using the side buttons
    • Listen through the speaker or headphones

    7. Using an External Microphone (Optional)

    • Plug a microphone into the mic/line in on the right side of the device
    • Adjust the levels using the dial on the front
    • Monitor audio with headphones if available

    8. Transferring Files to a Computer

    • Power off the recorder
    • Remove the microSD card and insert into a computer or connect the recorder via USB
      • If using the USB cable, select SD Card on the recording device when the screen turns on
    • Look in the most recent folder (usually FOLDER01)
      • Note: the date and time might be off, but it should be the most recent file(s)
    • Copy the file(s) to your computer for editing

    Helpful Tips

    • Always do a short test recording
    • Keep microphones pointed toward the speaker
    • Record in quiet spaces
    • Avoid handling noise
    • Bring extra batteries
    • Check levels before every session

    A video walkthrough on using the device can be found here.
  • Zoom H1 Handy Recorder Tutorial

    Zoom H1 Handy Recorder Tutorial

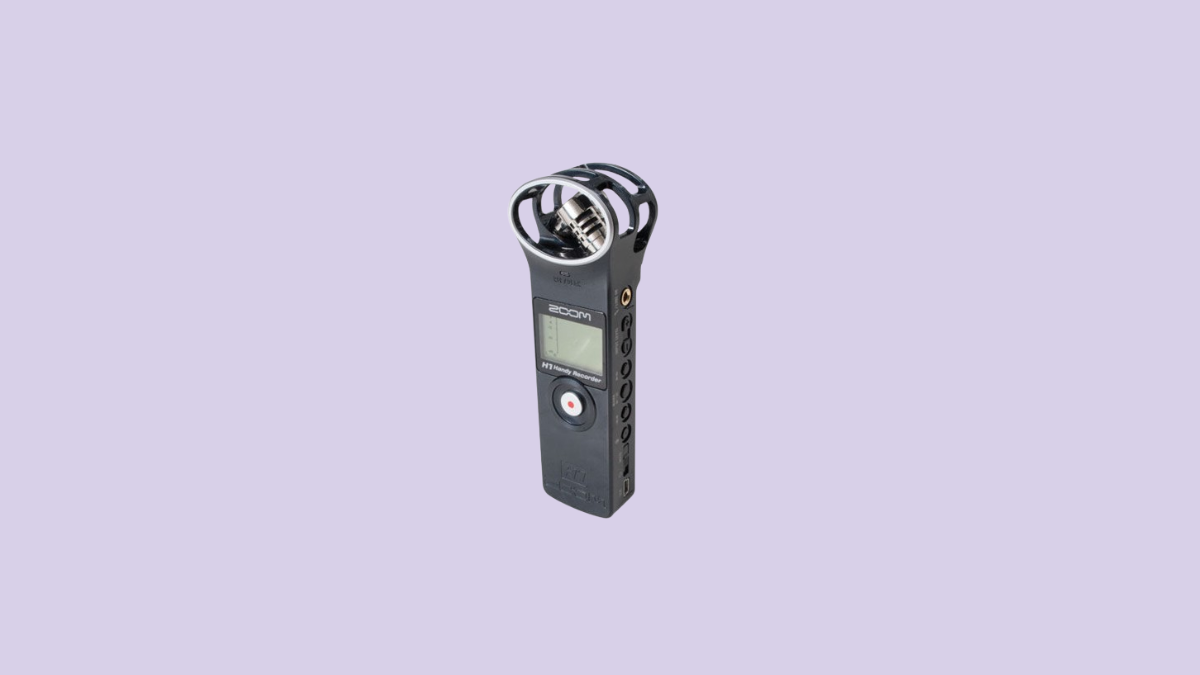
    The Zoom H1 Handy Recorder is a compact portable audio recorder used for interviews, lectures, podcasts, and field recording. It features built-in stereo microphones and simple controls, making it ideal for quick, reliable audio capture without complicated setup.

    This tutorial will help you record audio using the built-in microphones and save your files for later use.

    1. Getting Started

    • Insert a microSD card into the slot on the side
    • Insert one AA battery
    • Slide the Power/Hold switch down to turn the recorder on
    • Wait for the screen to fully load

    2. Choosing a Recording Format

    • On the back of the recorder, locate the WAV/MP3 switch
    • Slide to WAV for highest quality
    • Slide to MP3 for smaller file size

    While WAV is recommended for editing projects, MP3 can be read by nearly any program making it easier to work with.

    3. Positioning the Built-In Microphones

    The H1 has fixed X/Y stereo microphones on top.

    • Point the microphones toward your sound source
    • Place the recorder on a table or tripod when possible
    • Avoid touching the recorder during recording
    • Keep it about 6–24 inches from the source

    4. Setting Input Levels

    • Use the +/- on the right side of the device to adjust the input level
    • Speak at normal volume
    • Watch the meters on the screen
    • Adjust the dial so peaks reach between –12 dB and –6 dB
    • Avoid hitting 0 dB (this causes distortion)

    5. Recording Audio

    • Press Record to start recording
    • The timer will begin counting
    • Remain still during recording
    • Press Record when finished to stop recording

    6. Playing Back Your Recording

    • Press the Play button
    • Use the forward/back buttons to select files
    • Adjust volume using the side buttons
    • Listen through the speaker or headphones

    7. Using an External Microphone (Optional)

    • Plug a microphone into the mic/line input on the right side of the device
    • Adjust recording level using the +/-
    • Monitor audio with headphones if available

    8. Transferring Files to a Computer

    • Power off the recorder
    • Remove the microSD card and insert into a computer or connect the recorder via USB
    • Look in the most recent folder (usually FOLDER01)
      • Note: the date and time might be off, but it should be the most recent file(s)
    • Copy the file(s) to your computer for editing

    Helpful Tips

    • Always do a short test recording
    • Keep microphones pointed toward the speaker
    • Record in quiet spaces
    • Avoid handling noise
    • Bring extra batteries
    • Check levels before every session

    A video walkthrough on using the device can be found here.

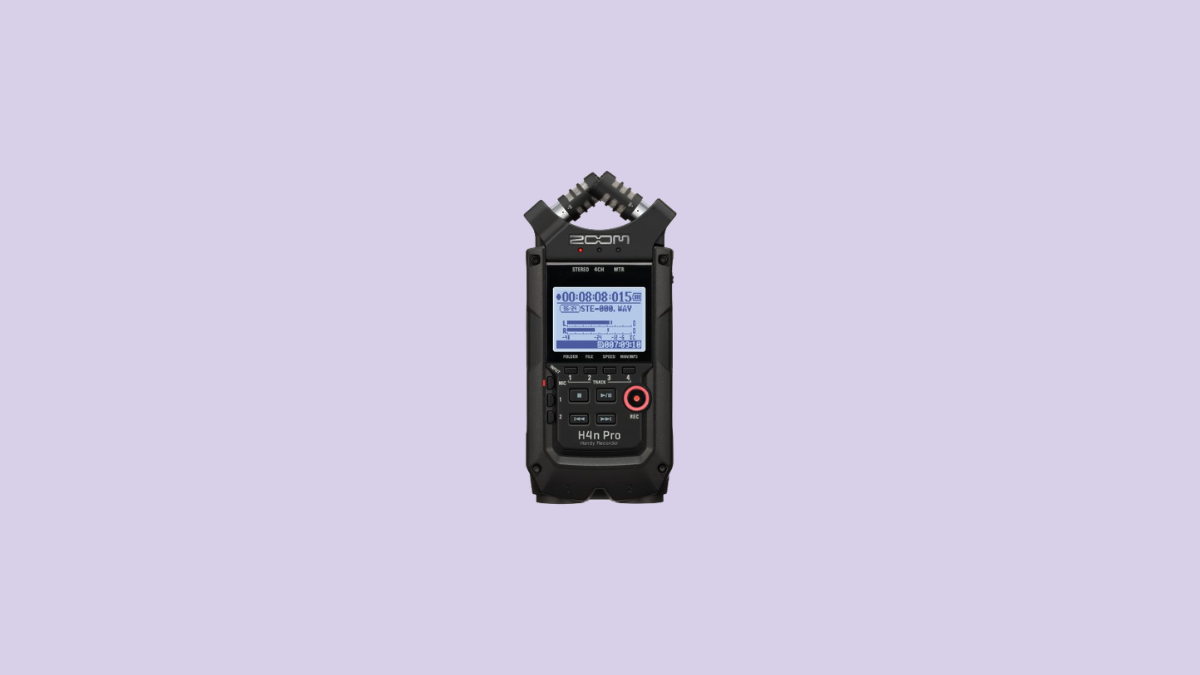
  • Zoom H4n Pro Audio Recorder Tutorial

    Zoom H4n Pro Audio Recorder Tutorial

    The Zoom H4n Pro is a portable, high-quality audio recorder used for interviews, podcasts, music recording, and field audio. It features built-in stereo microphones and external microphone inputs, making it flexible for a wide range of recording situations where clear, professional sound matters.

    This tutorial will help you record audio using the built-in microphones and save your files for later use.

    1. Getting Started

    • Insert an SD card into the side of the recorder
    • Insert fresh AA batteries or connect the power adapter
    • Slide the Power switch to turn the recorder on
    • Wait for the unit to fully boot

    2. Choosing a Recording Mode

    • Press the Menu button located on the right side of the device
    • Use the wheel on the side to navigate to Mode
    • Select Stereo and press the wheel to confirm

    3. Positioning the Built-In Microphones

    The H4n Pro has adjustable X/Y stereo microphones on top.

    • Make sure those on pointed in the direction of your source
    • Decide if you want the mics to pick up a wider area (120) or focus in more (90) by turning the mics
    • Then, place the recorder on a table or a small tripod, or hold if necessary

    4. Setting Input Levels

    • Press the Record button once
      • The meters will activate (standby mode)
    • Speak at normal volume
    • Use the + / – buttons on the right side of the device to adjust the recording level
    • Aim for levels that peak between –12 dB to –6 dB

    5. Recording Audio

    • Press the Record button again to start recording
    • The timer will begin counting
    • Remain as still as possible during recording
    • Press Stop when finished

    6. Playing Back Your Recording

    • Press the Play button
    • Use the jog wheel to select your file
    • Adjust playback volume using the buttons on the left side of the device

    7. Using External Microphones (Optional)

    External microphones provide better control for interviews and studio-style recordings.

    • Plug microphones into Input 1 or Input 2 (XLR or ¼”) or into the 1/8″ external microphone
    • Press the Input button to enable the correct inputs
    • Adjust levels for each input separately
    • Monitor sound using headphones if available

    8. Transferring Files to a Computer

    • Power off the recorder
    • Remove the SD card and insert it into a computer using an SD card reader
      • Or connect the recorder via USB
      • Files are typically saved as WAV or MP3, depending on settings
    • Copy audio files to your computer for editing

    Helpful Tips

    • Always do a short test recording before starting
    • Remember to have the microphones pointed towards the source (speaker)
    • Monitor audio with headphones when possible
    • Record in quiet spaces to avoid background noise
    • Bring extra batteries for longer sessions

    The below video walks you through the basics of setting up and using the Zoom H4n Pro Recorder.

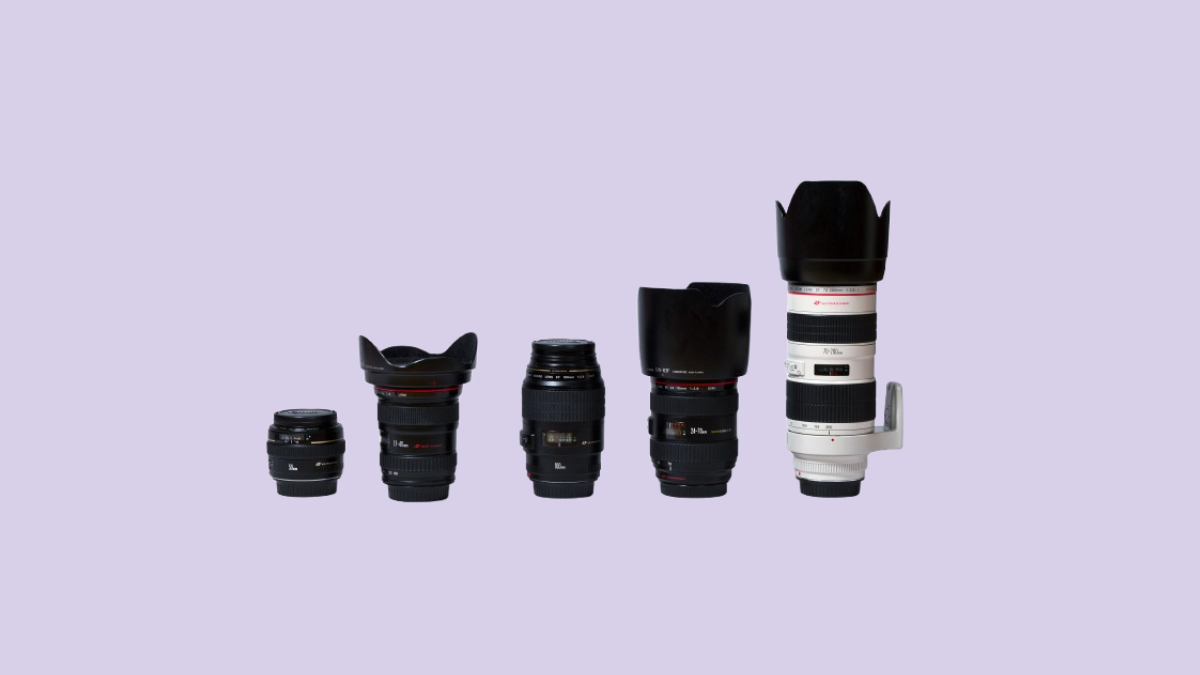
  • Camera Lens Basics Tutorial

    Camera Lens Basics Tutorial

    Choosing the right lens can completely change the way your video or photo looks. This quick guide explains the differences between wide-angle, telephoto, and fisheye lenses and when to use each.

    Wide-Angle Lenses

    • Focal length: Usually 16-50mm
    • Field of view: Captures a large scene in a single frame
    • Use for: Landscapes, classrooms, group shots, or when you want to show a lot of context
    • Effect: Objects appear farther apart, and edges may stretch slightly

    Tip: Great for cramped spaces because you can fit more into the shot without backing up.

    Telephoto (Higher Focal Length) Lenses

    • Focal length: 70mm or higher
    • Field of view: Narrow; zooms in on distant subjects
    • Use for: Sports, wildlife, interviews, or any shot where you can’t get physically close
    • Effect: Compresses depth, making background and foreground appear closer together

    Tip: Requires steady hands or a tripod.

    Fisheye Lenses

    • Focal length: Typically around 8–16mm
    • Field of view: Ultra-wide, often 180°
    • Use for: Creative effects, immersive shots, extreme perspectives, or 360° capture setups
    • Effect: Distorts the image, curving straight lines and exaggerating scale

    Tip: Fun for dramatic or artistic shots, but not ideal for standard portraits or professional-looking video.

    Helpful Tips

    • Always consider your space and subject before choosing a lens
    • Use wide lenses for tight rooms, telephoto for distant subjects, fisheye for creative or immersive effects
    • Check your camera’s crop factor as smaller sensors make lenses appear more zoomed in
    • Experiment! The more you try different lenses, the better you’ll understand their effects
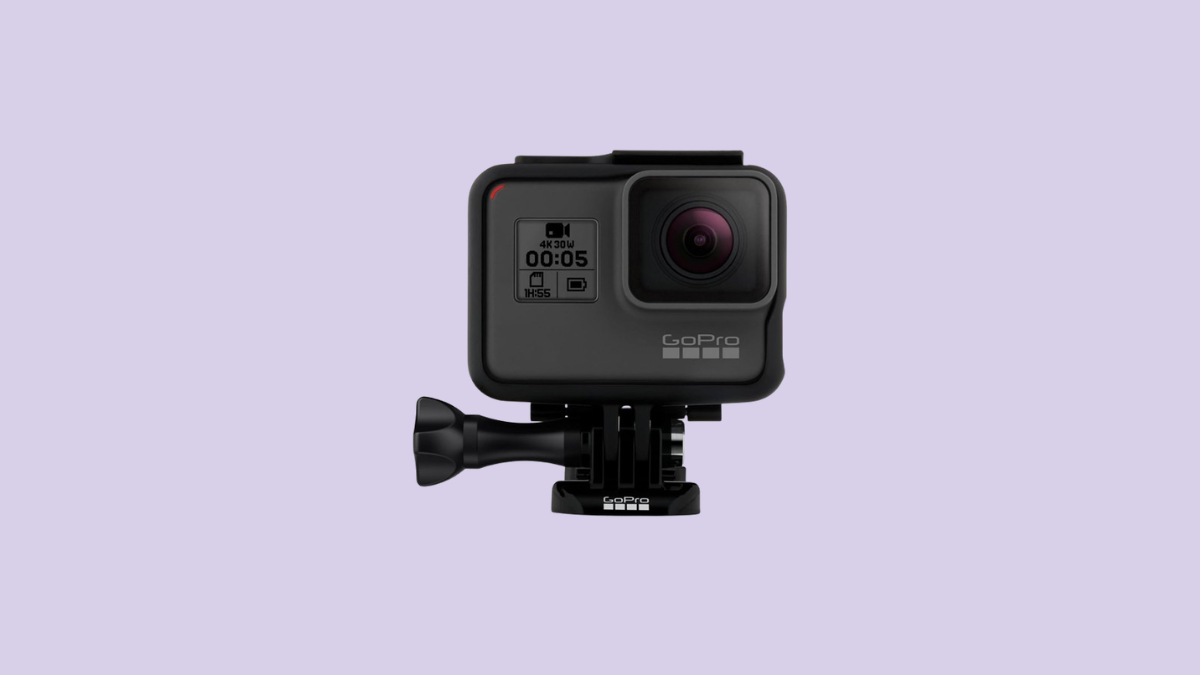
  • GoPro Hero 5 Black Tutorial

    GoPro Hero 5 Black Tutorial

    The GoPro HERO5 Black is a compact, durable action, waterproof camera designed for capturing high-quality video and photos in dynamic environments. You might choose the HERO5 Black when you need a small, portable camera for movement-based shots, hands-free recording, or situations where a traditional camera isn’t practical. It’s ideal for action footage, point-of-view shots, time-lapse projects, and creative angles.

    This tutorial will help you get started with the GoPro HERO5 Black. Follow the steps below to learn how to power on the camera, record video, and use basic features.

    1. Turning the Camera On

    • Make sure the battery is charged and a microSD card is inserted by pressing the button on the bottom of the GoPro and gently sliding to the right
    • Press and hold the Power/Mode button on the side of the camera to power the device on

    2. Adjusting Settings

    • Swipe down on the screen and tap the lock to unlock the settings
    • On the touchscreen, press any settings you’d like to adjust (ex: frame rate, resolution, time lapse, etc.)

    3. Recording Video

    • Press the Shutter button on the top of the camera to start recording
    • Press the Shutter button again to stop recording

    4. Taking Photos

    • Swipe on the touchscreen to switch to Photo mode
    • Frame your shot
    • Press the Shutter button to take a photo

    5. Mounting and Stability

    The GoPro works best when securely mounted.

    • Use the mounts provided by the Media Center
    • Double-check that mounts are tight before recording
    • Use a tripod or grip for stationary shots

    6. Audio Basics

    • The built-in microphones record sound automatically
    • Avoid covering the microphone openings
    • Wind and background noise can affect audio outdoors

    7. Reviewing and Deleting Footage

    • Swipe down on the touchscreen and tap Playback
    • Swipe left or right to review clips
    • Delete clips you don’t need to free up storage space

    Helpful Tips

    • Charge batteries fully before filming
    • Clean the lens before recording
    • Use shorter clips for easier editing
    • Test your setup before important shots

    You’re Ready to Capture the Action

    The GoPro HERO5 Black makes it easy to capture immersive video from unique angles. Start with automatic settings, secure your camera properly, and focus on creative positioning to get the most out of your footage.

    For a detailed video walkthrough on using the GoPro Hero 5 Black, see the video below.

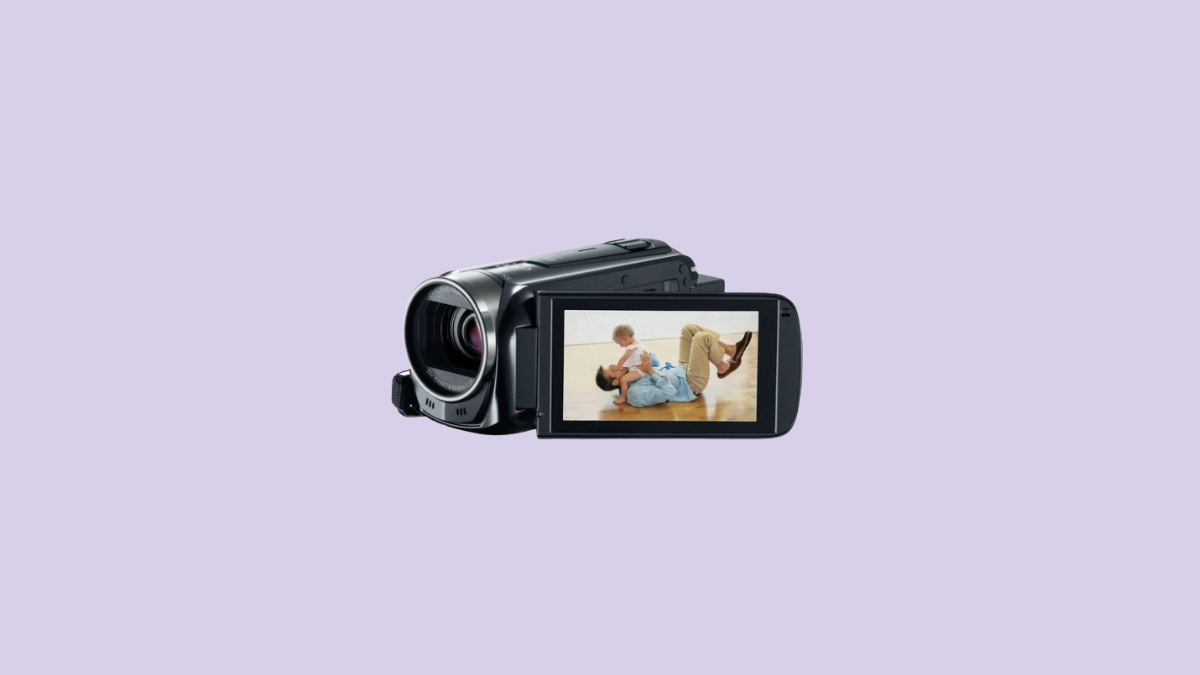
  • Canon R-50 Camcorder Tutorial

    Canon R-50 Camcorder Tutorial

    The Canon VIXIA HF R50 is a compact, easy-to-use camcorder designed for straightforward, reliable video recording. You might choose the VIXIA HF R50 when you need simple setup, long recording times, and dependable video for interviews, presentations, performances, or documentation. It’s well suited for users who want quality video without managing complex camera settings.

    This tutorial will help you get started with the Canon VIXIA HF R50 camcorder. Follow the steps below to learn how to power on the camera, record video, and review your footage.

    1. Turning the Camcorder On

    • Make sure the battery is charged and an SD card is inserted
    • Press the Power button located on the side of the camera next to the SD card slot
    • Flip the switch by the lens to open its cover

    2. Recording to the SD Card

    • Press the Home icon on the touchscreen
    • Select Recording Setup
    • Select Recording Media
    • Select the SD card

    3. Checking the File Output Type

    The camcorder allows you to select your desired recording format before you start recording. By default, the camcorder will record as an mp4 file. This is fine as long as what you’re recording is less than 30 minutes.

    Planning to record something longer than 30 minutes? You’ll want to change the format to AVCHD so that your recording isn’t broken up into multiple files. To do so:

    • Press the Home icon on the touchscreen
    • Navigate to the Recording Setup menu
    • Select Movie Format
    • Select AVCHD and Confirm

    4. Using the Audio Level Indicator

    The Audio Level Indicator can help you monitor audio while recording. Once you plug in a microphone, this level will automatically appear on the touchscreen.

    5. Recording Video

    • Frame your shot using the LCD screen
    • Press the Start/Stop button to begin recording
    • Press the Start/Stop button again to stop recording

    A red recording indicator on the screen confirms when recording is active.

    6. Using Auto Mode (Recommended)

    For most projects, Auto mode works best.

    • Leave the camcorder in Auto mode
    • The camera will automatically adjust focus, exposure, and color
    • Focus on framing your subject and keeping the camera steady

    7. Holding the Camcorder Steady

    Stable footage makes a big difference in video quality.

    • Use the hand strap for support
    • Keep your movements slow and controlled
    • Use a tripod for interviews or longer recordings

    Avoid fast pans or sudden movements while recording.

    8. Zoom and Focus Tips

    • Use the zoom rocker slowly for smooth zooming
    • Avoid excessive zooming during recording
    • Pause briefly before recording to allow auto-focus to lock

    Slow, intentional movement looks more professional on video.

    9. Reviewing and Deleting Footage

    • Press the Playback button to review recorded clips
    • Use the on-screen controls to navigate videos
    • Delete unwanted clips to free up storage space

    Always review footage before leaving your recording location.

    Using Headphones to Monitor Audio

    If you’re using headphones to monitor audio during filming and you hear a buzzing noise once the headphones are plugged in, you will need to follow the below steps.

    • Click on the Home button in the top left of the touchscreen
    • Select Other Settings
    • Click the tab at the top with the wrench icon
    • Select AV/Headphones
    • Select the Headphones option

    Helpful Tips

    • Record a short test clip before important shoots
    • Keep shots simple and steady
    • Use a tripod whenever possible
    • Check battery life and storage before recording

    You’re Ready to Record

    The Canon VIXIA HF R50 is designed to make video recording straightforward and reliable. Start in Auto mode, focus on steady shots and clear audio, and you’ll be ready to capture strong video for class projects, interviews, and events.

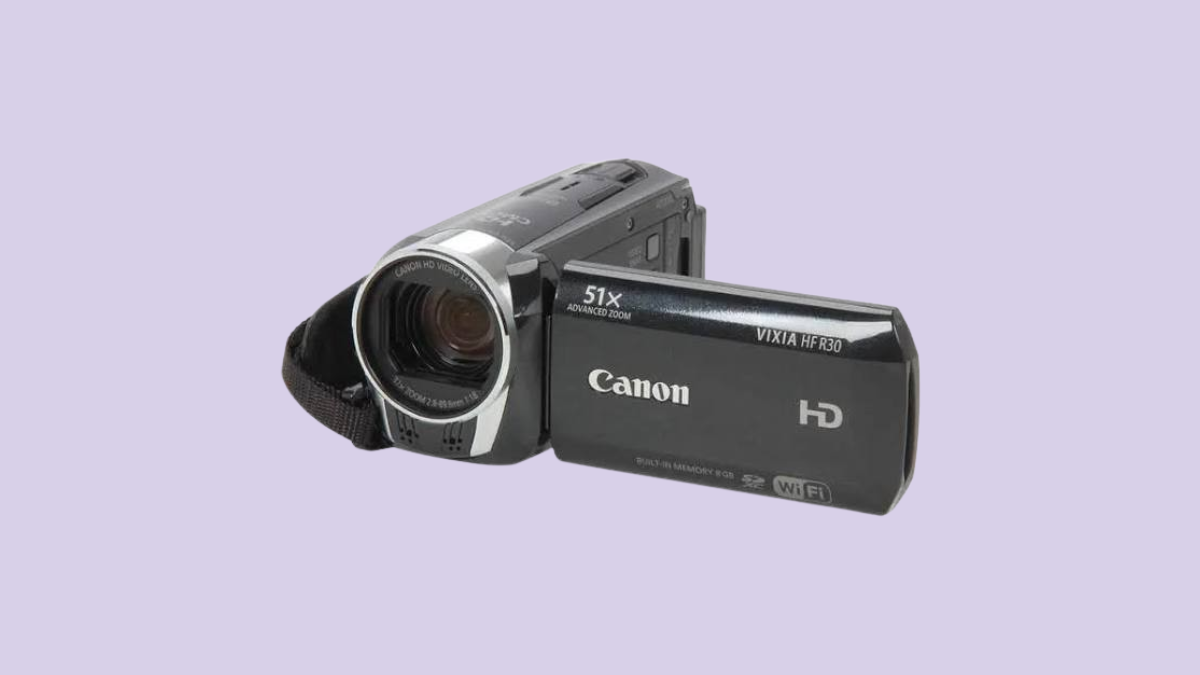
  • Canon R-30 Camcorder Tutorial

    Canon R-30 Camcorder Tutorial

    The Canon R30 Camcorder is a reliable, easy-to-use video camera designed for capturing high-quality footage with minimal setup. You might choose the Canon R30 when you need smooth, consistent video, strong auto-focus, and dependable audio for interviews, presentations, performances, or events. It’s especially well-suited for users who want professional-looking video without needing to manage complex camera settings.

    This tutorial will help you get started with the Canon R30 camcorder. Follow the steps below to learn how to power on the camera, record video, and adjust basic settings for clear, steady footage.

    1. Turning the Camcorder On

    • Make sure the battery is charged and an SD card is inserted
    • Press the Power button located on the back of the camera just above the battery
    • Flip the switch by the lens to open its cover

    2. Recording to the SD Card

    • Press the Home button on the side of the camera
    • On the touchscreen, select Other Settings
    • Click the second tab with the filmstrip icon
    • Select Rec. Media for Movies and change to SD

    3. Checking the File Output Type

    The camcorder allows you to select your desired recording format before you start recording. By default, the camcorder will record as an mp4 file. This is fine as long as what you’re recording is less than 30 minutes.

    Planning to record something longer than 30 minutes? You’ll want to change the format to AVCHD so that your recording isn’t broken up into multiple files. To do so:

    • Press the Home button on the side of the camera
    • Navigate to the Recording Setup menu
    • Select Movie Format
    • Select AVCHD and Confirm

    4. Using the Audio Level Indicator

    Provided you have the camcorder in Manual mode, the Audio Level Indicator can help you monitor audio while recording.

    • On the touchscreen, press FUNC
    • Scroll down and select Mic Level
    • Press the Audio Level Indicator button and the scale should now display

    5. Recording Video

    • Frame your shot using the LCD screen
    • Press the Record button to start recording
    • Press the Record button again to stop

    A red indicator on the screen confirms when recording is active.

    6. Switching to Auto Mode

    If you aren’t looking to adjust many settings, for most situations, Auto mode works well and requires no setup. Auto mode is ideal for interviews, presentations, performances, and events.

    • Press the Home button on the side of the camera
    • On the touchscreen, select Camera Mode
    • Select Auto

    Note: when in Auto mode, your ability to change settings is limited. If you want more control over your settings, you’ll need to switch to Manual Mode using the same process as mentioned above.

    7. Holding the Camcorder Steady

    Good video depends on stable footage.

    • Use the hand strap and keep elbows close to your body
    • Move slowly when panning or tilting
    • Use a tripod whenever possible for interviews or longer recordings

    Even small movements are noticeable in video.

    8. Zooming and Focus

    • Use the zoom toggle slowly for smooth zooms
    • Avoid excessive zooming while recording as it can be distracting
    • Let the camera auto-focus, but pause briefly before recording to allow it to lock focus

    Slow, intentional movements look more professional.

    9. Reviewing Your Footage

    • Press the Playback button to view recorded clips
    • Use the on-screen controls to scroll through videos
    • Delete clips you don’t need to free up space

    Reviewing footage on location helps prevent reshoots later.

    Using Headphones to Monitor Audio

    If you’re using headphones to monitor audio during filming and you hear a buzzing noise once the headphones are plugged in, you will need to follow the below steps.

    • Navigate to the menu by pressing the Home button on the side of the camera
    • Select Other Settings
    • Click the tab at the top with the wrench icon
    • Scroll down to AV/Headphones and click on it
    • Select the Headphones option

    Helpful Tips

    • Record a short test clip before important shoots
    • Watch for background noise when recording audio
    • Keep clips short and intentional
    • Use a tripod whenever possible

    You’re Ready to Record

    You don’t need advanced settings to create strong video content. Start with Auto mode, focus on steady shots and clear audio, and build confidence as you record. The Canon R30 is a reliable camcorder for class projects, interviews, documentation, campus events, and more.

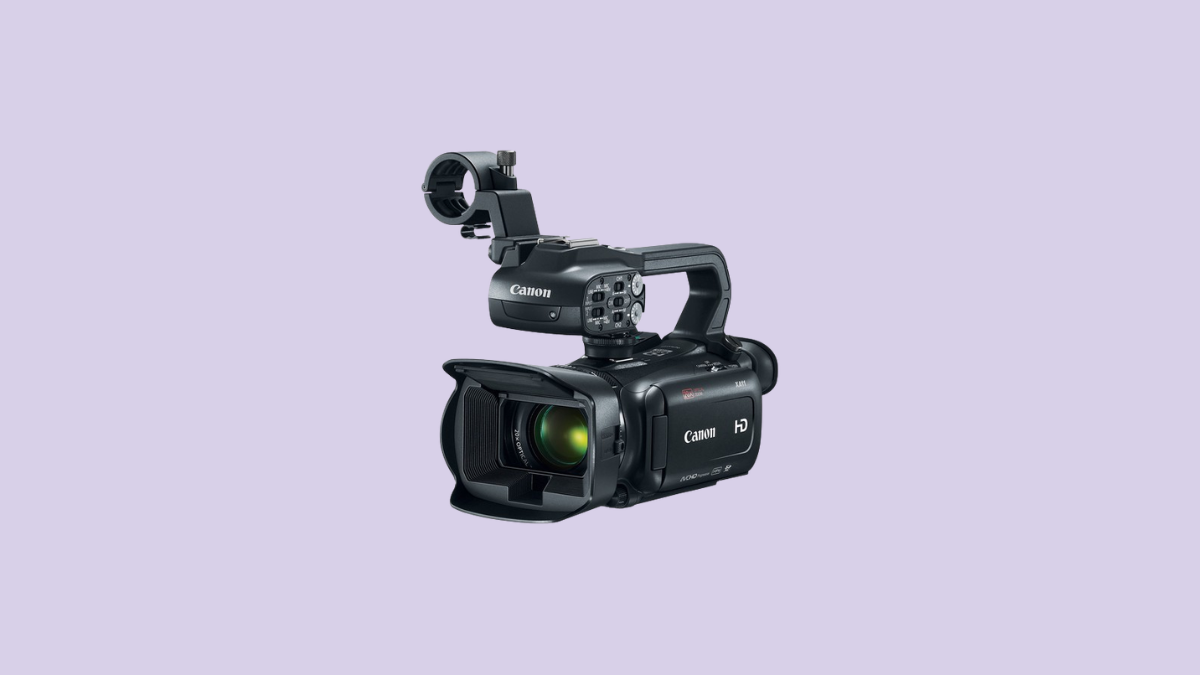
  • Canon XA11 Tutorial

    Canon XA11 Tutorial

    The Canon XA11 is a professional video camera designed for interviews, events, and documentary-style projects. It offers higher video quality and professional audio options than basic camcorders. This camera is best used when clear video and reliable sound are important. This is a more advanced camera and supports professional microphones using XLR cables.

    This tutorial covers the essential steps students need to successfully record video and audio using the Canon XA11.

    1. Getting Started

    • Remove the lens cover
    • Slide the switch on the left side to Camera to turn on the camcorder
    • Insert an SD card into the memory slot
    • Adjust the date and time if prompted

    2. Preparing to Record

    • Use the LCD screen to frame your shot
    • Adjust the camera position as needed
    • Use the zoom slowly, or avoid zooming altogether

    3. Checking the File Output Type

    The Canon XA11 allows you to select your desired recording format before you start recording. By default, it may record as an mp4 file. This is fine as long as what you’re recording is less than 30 minutes.

    Planning to record something longer than 30 minutes? You’ll want to change the format to AVCHD so that your recording isn’t broken up into multiple files. To do so:

    • Press the Func button on the touchscreen
    • Press the Menu button that has appeared in the top left of the touchscreen
    • Select the middle tab that has the film strip and gear icon
    • Select Movie Format
    • Choose AVCHD

    3. Recording Video

    • Press the Record button on the back of the camera to start the recording
    • Look for the red REC indicator on the screen
    • Press the Record button again to stop the recording

    4. Audio Setup (Critical Step)

    This camera supports external microphones using XLR cables.

    • Plug the microphone into XLR Input 1 or 2
    • Make sure the audio input switches are set correctly in the Menu
    • Watch the audio level meters on the screen
    • Levels should move but not reach the red
    • To use one XLR microphone, ensure your settings match the below photo.

    Helpful Tips

    • Always check audio before recording
    • Keep the camera steady using a tripod when possible
    • Record in a quiet space
    • When in doubt, ask for help before adjusting controls

    You’re Ready to Record

    The Canon XA11 is a more advanced camcorder that makes it easy to capture professional, high-quality video and audio. Start with simple shots, explore zoom and stabilization features, and connect professional microphones via XLR for the best sound. With practice, your videos will look polished and professional every time.

    More information on using the Canon XA11 can be found here.

  • Smooth-Q Gimbal Tutorial

    Smooth-Q Gimbal Tutorial

    The Smooth-Q is a handheld gimbal that stabilizes your smartphone for smooth, professional-looking video. You might choose the Smooth-Q when you want to eliminate shaky footage, create cinematic movement, or record on the go with ease. It’s perfect for class projects, interviews, event coverage, or any mobile video where smooth motion matters.
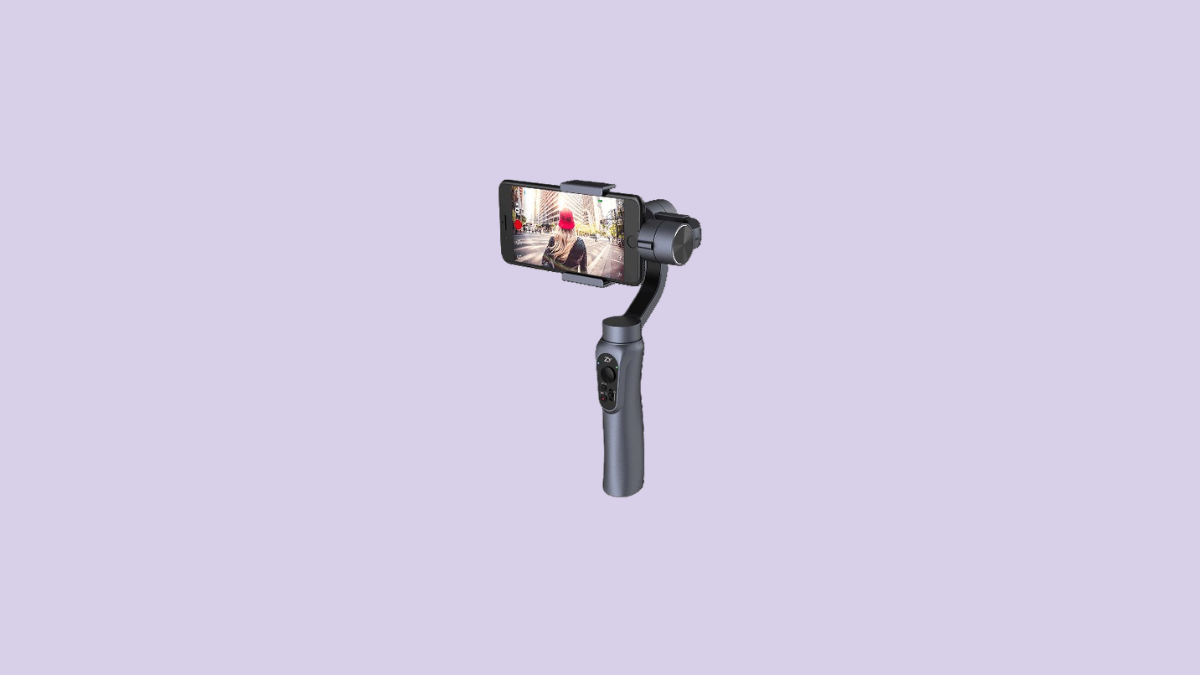
    This tutorial will help you get started with the Smooth-Q. Follow the steps below to set up, balance, and record stabilized video with your smartphone.

    1. Getting Started

    • Charge the Smooth-Q fully using the included USB cable
    • Attach your smartphone securely using the clamp

    2. Balancing Your Phone

    • Adjust the phone clamp so your device is centered
    • Tilt, pan, and roll the gimbal manually until the phone remains level
    • Proper balance reduces motor strain and ensures smoother video

    3. Connecting to the App

    • Download the ZY app on your phone
    • With your phone balanced, turn on the gimbal by pressing and holding the power button
    • Through the app, connect your phone via Bluetooth to the gimbal
    • Explore camera settings and shooting modes within the app

    4. Recording Video

    • Use the joystick and buttons on the gimbal to control pan, tilt, and zoom
    • Start recording via the app or gimbal button
    • Move slowly and smoothly for cinematic results

    5. Modes and Features

    • Follow Mode: Gimbal follows your movements smoothly
    • Lock Mode: Keeps the camera fixed on one direction
    • Panoramic / Timelapse: Use app features for creative shots
    • Switch between modes using the gimbal’s mode button

    Helpful Tips

    • Always balance your phone before powering on
    • Keep movements slow to avoid jerky footage
    • Use a lightweight case or remove it to improve balance
    • Charge both your phone and gimbal before long shoots

    You’re Ready to Record

    The Smooth-Q phone gimbal makes it easy to capture stable, cinematic video with just your smartphone. Start with simple shots, explore different modes, and gradually experiment with creative angles and movements. With practice, your mobile videos will look professional every time.

    The below video walks you through the basics of setting up and using the Smooth Q.

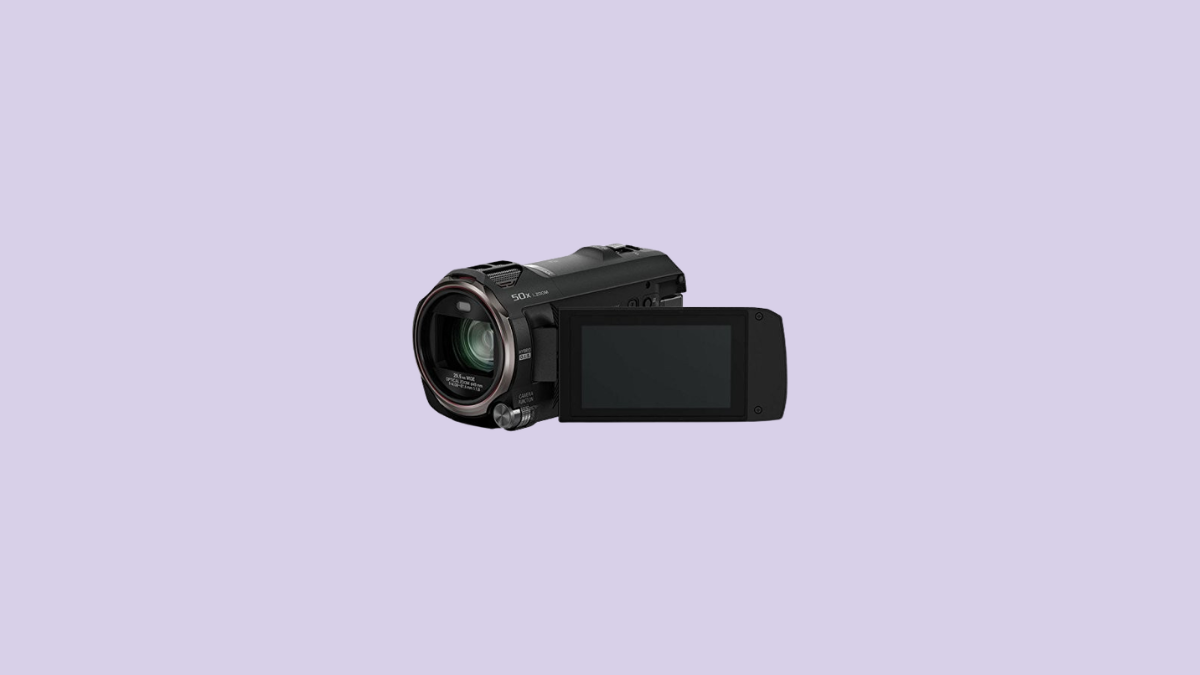
  • Panasonic HC-V770 Camcorder Tutorial

    Panasonic HC-V770 Camcorder Tutorial

    The Panasonic HC-V770 is a versatile camcorder ideal for capturing smooth, high-quality video for class projects, interviews, or creative assignments. You might choose the HC-V770 when you need full HD recording, built-in image stabilization, and a powerful zoom, along with flexibility for external microphones and easy playback. It’s great for students or instructors who want professional-looking results without complicated setup.

    This tutorial will help you get started with the Panasonic HC-V770. Follow the steps below to learn how to set up, record, and manage your video projects.

    1. Turning the Camera On

    • Make sure the battery is charged and an SD card is inserted in the slot on the bottom of the camera near the battery
    • Press the Power button located on the side to turn on the camcorder

    2. Checking the File Output Type

    The camcorder allows you to select your desired recording format before you start recording. The camcorder may be set to record as an .mp4 file. This is fine as long as what you’re recording is less than 30 minutes.

    Planning to record something longer than 30 minutes? You’ll want to change the format to AVCHD so that your recording isn’t broken up into multiple files. To do so:

    • Press the Two arrows on the touch screen
    • Press Menu
    • Choose Record Setup
    • Select Rec Format and choose AVCHD

    3. Recording Video

    • Press the red Record button to start
    • Press the button again to stop recording

    Stay steady while recording, and try to avoid sudden movements for smooth footage.

    4. Capturing Audio

    • Connect an external microphone if higher-quality audio is needed
    • Adjust audio levels in the menu

    5. Playback and Reviewing Footage

    • Press the Playback button on the side of the camera
    • Use the LCD to review your clips
    • Scroll through footage with the arrow buttons

    6. Transferring Files

    • Remove the SD card and insert it into a computer via an SD card reader
    • Transfer and organize your files for editing or sharing

    Using Headphones to Monitor Audio

    Unlike some of our other camcorders, the Panasonic HC-V770 has a separate port for headphones located in front of the hand strap as seen in the photo below. Make sure you plug the headphones into this port and NOT the AV port.

    Helpful Tips

    • Use a tripod for long or complex shots to avoid shaky video
    • Keep the lens clean for the clearest image
    • Record a few seconds of extra footage before and after your main shot (for easier editing)
    • Always double-check SD card space before starting a project
    • Test external microphones before recording critical audio
    • Avoid over-zooming while handheld to maintain stability

    You’re Ready to Record

    The Panasonic HC-V770 makes it easy to capture polished, high-quality video. Start with simple shots, explore zoom and stabilization features, and gradually add external audio for professional results. With practice, your projects will look and sound great.

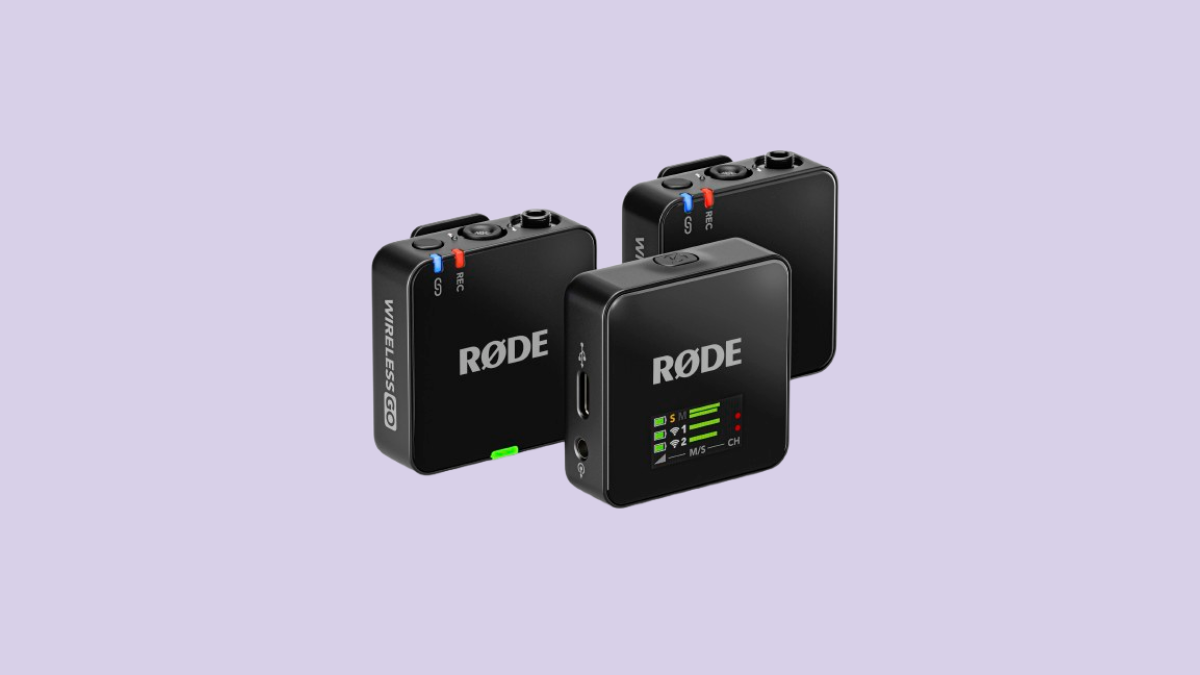
  • Rode Wireless Go II Tutorial

    Rode Wireless Go II Tutorial

    The Rode Wireless Go II is a compact, wireless microphone system that makes capturing clear audio simple for interviews, presentations, podcasts, and video projects. You might choose the Wireless Go II when you need freedom of movement, professional-quality sound, and the ability to record directly to the receiver or internal recorders. It’s ideal for classroom projects, campus events, or any situation where mobility and clear audio are important.

    This tutorial will help you get started with the Rode Wireless Go II. Follow the steps below to set up, pair, and record high-quality audio.

    1. Getting Started

    • Charge devices fully before first use using the included USB-C cables
    • Turn on each device by pressing and holding the power button until the lights on the device come on

    2. Pairing the Transmitters and Receiver

    • The transmitters and receiver should automatically pair, but check the receiver’s display for connection status
    • If needed, manually pair by holding the pairing button on each device until the connection is confirmed

    3. Connecting to Your Camera or Device

    • If using a camera, connect to your camera’s audio (mic) jack with a TRS cable and adjust your camera’s audio settings so the audio comes primarily from the mic
    • If using a phone, connect the receiver to your phone from the USBC port. Once connected, the mic should automatically work. This can be tested through any voice recorder app (i.e. Voice Memos or Voice Recorder)

    4. Attaching the Wind Screens

    • To attach the wind screen to the transmitter, simply align the circles and turn

    5. Using Rode Central

    6. Recording Audio

    • Clip the transmitter to your subject
    • Press the record button on your device
    • Monitor levels on the receiver’s display and ensure the receiver stays nearby to the transmitter

    Helpful Tips

    • Always do a quick sound check before recording critical audio
    • Keep transmitters within range (up to ~200m or ~650ft line-of-sight) of the receiver
    • Be aware of the battery levels as each transmitter (mic) should last for roughly 7 hours
    • Avoid placing transmitters near strong electronic interference
    • Use the included windshields outdoors to reduce wind noise

    You’re Ready to Record

    The Rode Wireless Go II makes it easy to capture clear, professional audio without being tethered to your camera. Start with simple setups, monitor your levels, and explore wireless recording for presentations, interviews, or creative projects. With practice, you’ll get crisp, reliable audio every time.

    The below video provides a walkthrough of getting started using the Rode Wireless Go II.

  • Canon SL3 SLR Camera Tutorial

    Canon SL3 SLR Camera Tutorial

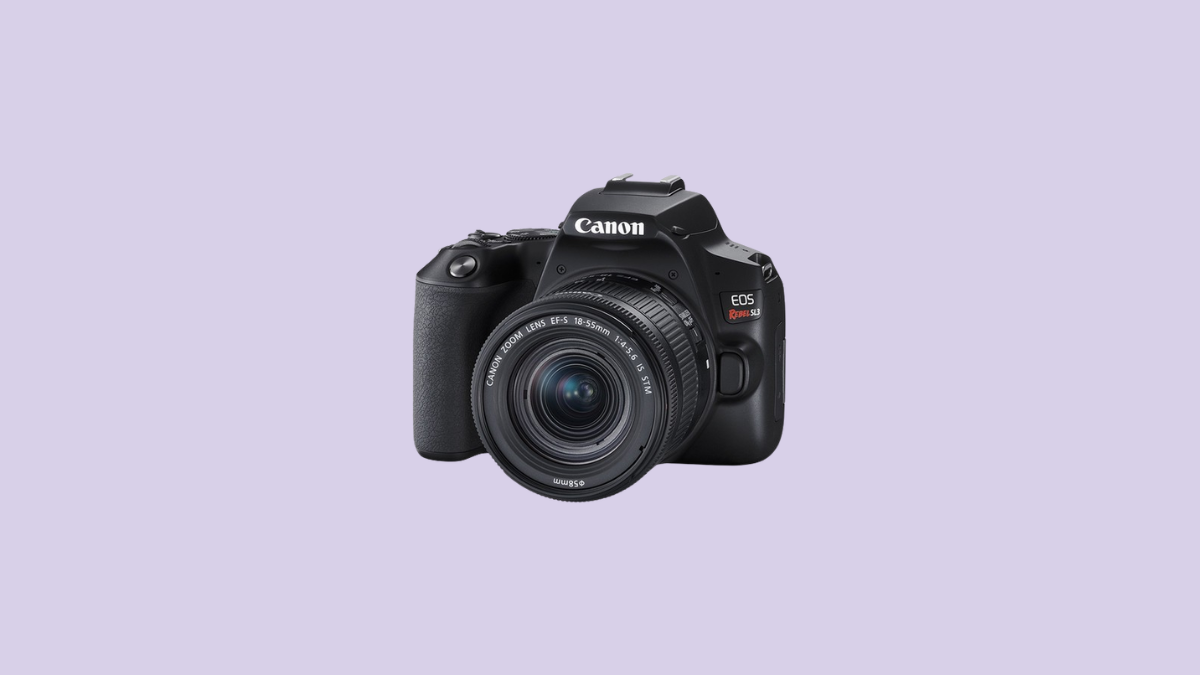
    The Canon SL3 DSLR Camera is a versatile, beginner-friendly camera that gives you more creative control than a phone or point-and-shoot. You might use the Canon SL3 when you want higher-quality photos or video, sharper images in low light, or the ability to control settings like aperture, shutter speed, and ISO. It’s a great option for learning the fundamentals of photography while still being powerful enough for class projects, creative work, and campus events.

    This tutorial will help you get started with the Canon SL3 DSLR camera. Follow the steps below to learn how to turn the camera on, take basic photos, and begin using manual settings for more creative control.

    Turning the Camera On

    • Make sure the battery is charged and an SD card is inserted
    • Remove the lens cap
    • Move the power switch on the top of the camera to ON

    Taking a Photo

    • Look through the viewfinder or use the screen
      • To switch between the viewfinder and the screen, press the button with the camera icon
    • Press the shutter button halfway to focus
      • You’ll hear a beep or see a focus indicator
    • Press the shutter button all the way down to take the photo

    Using Auto Mode (Recommended for Beginners)

    If you just need to take photos quickly:

    • Turn the mode dial to A (Auto)
    • The camera will automatically choose the best settings for you
    • Focus on framing your shot and pressing the shutter

    Understanding the Exposure Triangle

    When you’re ready for more control, you’ll adjust three settings that affect how bright your photo is:

    • Aperture (f-stop): Controls how much light enters the lens and how blurry the background is
    • Shutter Speed: Controls how long the shutter stays open and how motion appears
    • ISO: Controls how sensitive the camera is to light

    Changing one setting affects the others. Together, these make up the exposure triangle.

    Using Manual Mode

    To control all settings yourself:

    • Turn the mode dial to M (Manual)
    • All settings will appear on the screen

    In Manual mode:

    • Use the main dial to change shutter speed
    • Press the ISO button to adjust ISO
    • To change the aperture, use the main dial while holding the AV button

    Watch the exposure meter on the screen to help balance your settings.

    Reviewing Your Photos

    • Press the Play button to view photos you’ve taken
    • Use the arrow buttons or dial to scroll through images
    • Press Delete if you need to remove a photo

    Shooting Video

    • Turn the dial to movie mode
    • To start and stop the recording, press the camera button with the adjacent red dot

    Helpful Tips

    • Use Auto mode when you’re unsure
    • Use Manual mode when lighting or motion matters
    • Keep your ISO as low as possible for cleaner images
    • If photos look blurry, try a faster shutter speed

    You’re Ready to Shoot

    You don’t need to master every setting to take good photos. Start simple, experiment often, and adjust as you go. The Canon SL3 is a great camera for learning photography fundamentals while producing high-quality results.