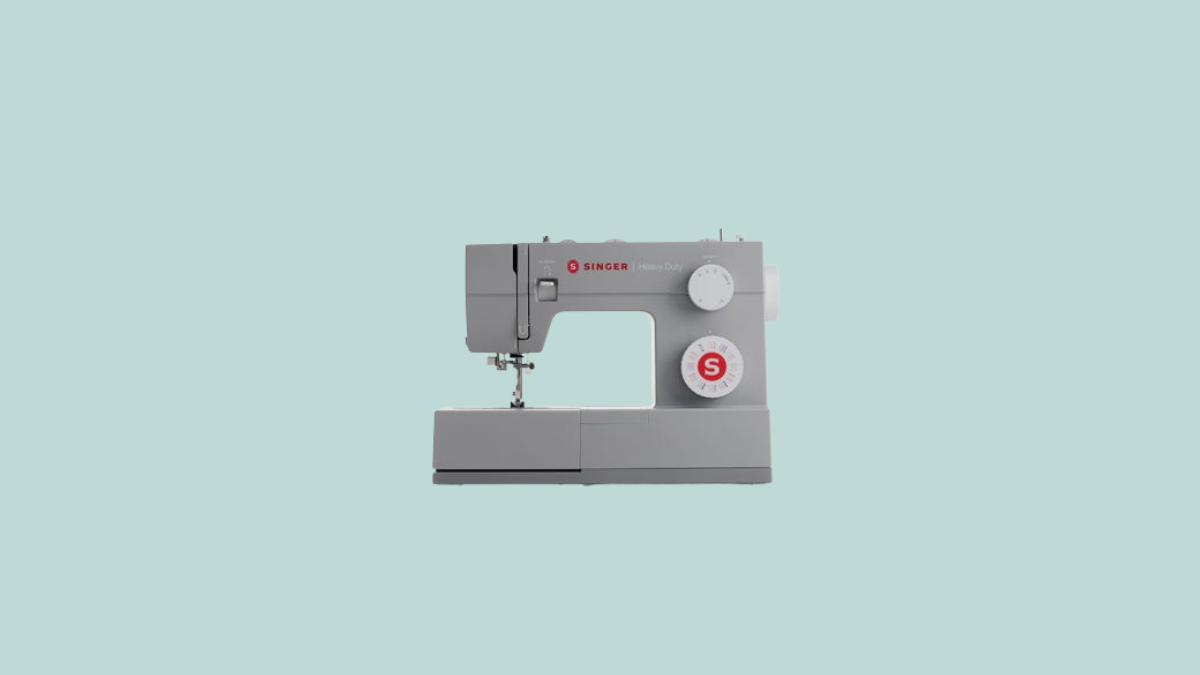
The Singer Heavy Duty sewing machine is a robust, classroom-friendly machine designed to handle thicker fabrics and more demanding sewing tasks. You might choose the Heavy Duty when you’re working with denim, canvas, leather, or multiple layers, or when you need faster stitching and more power than a basic machine provides. It’s perfect for projects that require durability, strength, and versatility without sacrificing ease of use.
This tutorial will help you get started with the Singer Heavy Duty sewing machine. Follow the steps below to thread the machine, wind a bobbin, and sew with confidence.
1. Getting Started
Place the machine on a stable, flat surface
Plug in the power cord and foot pedal
Turn the power switch ON
2. Winding the Bobbin
Place your thread spool on the spool pin
Guide the thread along the bobbin winding path (follow the numbered guides on the machine)
Put the bobbin on the bobbin winder spindle
Push it to the right and press the foot pedal to wind the bobbin evenly
3. Threading the Machine
Raise the presser foot to release the tension discs
Thread the upper thread from the spool through the numbered guides
Follow the threading path down, around the tension discs, and up to the needle
Thread the needle from front to back
Pull several inches of thread toward the back of the machine
4. Inserting the Bobbin
Open the bobbin cover plate
Place the bobbin into the bobbin case so the thread feeds in the correct direction
Pull the thread through the tension spring
Close the bobbin cover
5. Preparing to Sew
Place your fabric under the presser foot
Lower the presser foot
Hold both the top thread and bobbin thread behind the presser foot
Gently press the foot pedal to begin sewing
6. Sewing
Use the stitch selector to pick the appropriate stitch (straight or zigzag)
Direct the fabric with your hands — do not push or pull
Adjust stitch length as needed for your fabric and project
7. Finishing Your Sewing
Stop with the needle down in the fabric
Raise the presser foot
Pull your fabric back carefully and use the built-in thread cutter to trim threads
Helpful Tips
Test stitches on scrap fabric before sewing your project
If stitches look uneven, re-thread both upper thread and bobbin
Avoid forcing thick fabric — let the feed dogs guide it steadily
See the video below for a walkthrough on using the machine.
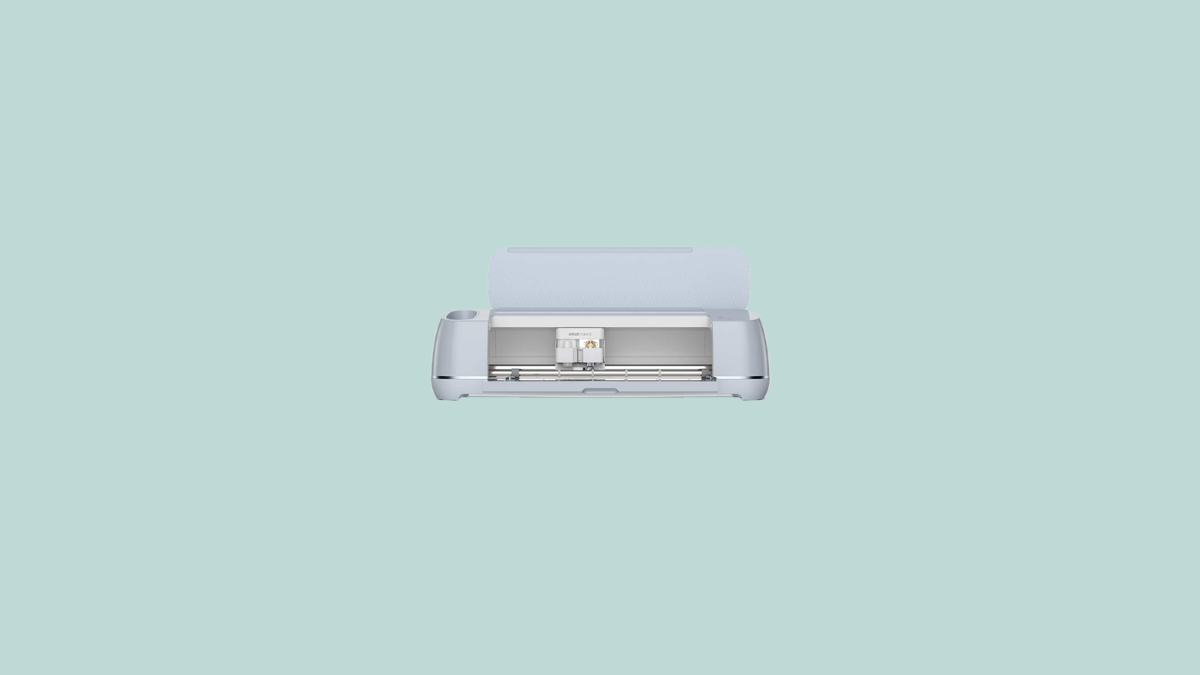
The Cricut cutting machine is a digital cutting tool used to precisely cut designs from materials like vinyl, paper, cardstock, and iron-on. You might choose a Cricut when you want to create custom decals, signs, labels, apparel designs, or project components with clean, professional results. It’s ideal for creative projects, class assignments, and prototypes where accuracy and repeatability matter.
This tutorial will help you get started with the Cricut machine. Follow the steps below to learn how to set up your design, load materials, and make your first cut.
1. Getting Started
Power on the Cricut machine
Open Cricut Design Space on the computer
2. Creating or Choosing a Design
Start a new project or choose a ready-made design
Add text, shapes, or images to your canvas
Resize and arrange your design as needed
3. Preparing Your Design to Cut
Click Make It in Design Space
Select the correct material type (vinyl, cardstock, iron-on, etc.)
Confirm your cut settings
4. Loading Materials and Tools
Place your material on a cutting mat
Align it with the grid and smooth it down firmly
Insert the mat into the Cricut and press the Load button
Make sure the correct blade is installed
5. Cutting Your Design
Press the Go / Start button when prompted
Stay nearby while the machine is cutting
Do not remove the mat until the cut is complete
6. Removing and Finishing Your Project
Carefully unload the mat
Remove your cut design from the mat
Weed, assemble, or apply the design as needed
Helpful Tips
Always double-check material type and blade
Use a test cut for unfamiliar materials
Don’t force materials—stop the machine if something looks wrong
See the video below for a detailed video walkthrough.
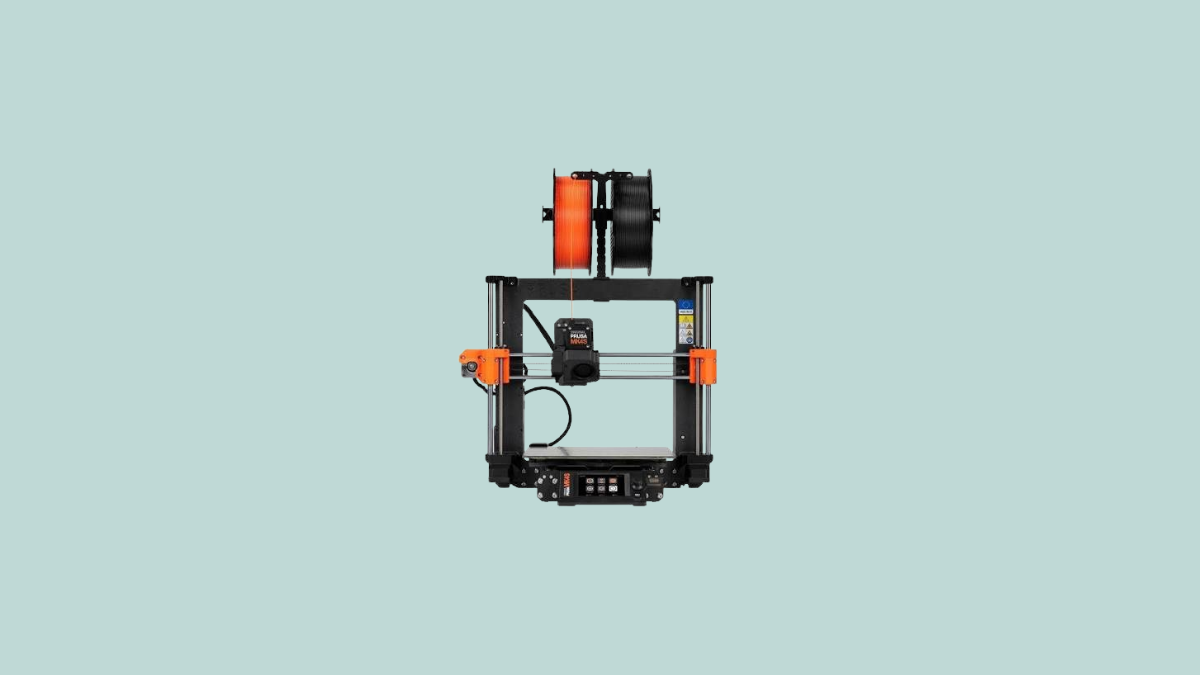
3D printers are powerful tools for visualization, invention, and creation. In the Media Center, we are pleased to offer you access to these printers, but ask that you please contact a member of the Academic Technology department to learn proper use and ensure we can continue to offer access to 3D printing to all.
1. Saving your Object
You will want to make sure the object you want to print is saved as an STL, OBJ, X3D or 3MF file type. The file type is listed after the file name as shown below. You will need to transfer the file to the computer in the Makery via email, OneDrive, or an SD card.
2. Preparing your Object for Printing
On the computer located next to the 3D printers in The Makery, sign into the Temp account using the below login information:
User: Temp Pass: dson1223!
3. Opening the PrusaSlicer Software
From the desktop, select the Prusa Slicer icon.
The software should open a blank project. If it instead loads a previous project, select File > New Project.
4. Importing your file into PrusaSlicer
In PrusaSlicer, click on the box with the plus at the top of the screen and select your item from the computer’s files. The object should appear on the screen in green. You can also click and drag the file in from its folder. Note: you can select multiple files to import by holding Ctrl/Cmd on your keyboard, but you will need to properly arrange the objects on the platter prior to printing (see step 6).
5. Placing Objects on the Build Plate
The build plate is the grid under the object that defines the area that the printer is capable of printing within.
To create a 3D object, the printer stacks layers from the bottom up which means that each layer must be supported. This usually involves placing the large, flat side of the object onto the build plate.
For example, if printed the table in the below image, you would want to flip the table onto it’s surface to ensure there is ample support for the print.
To ensure the object is properly placed on the build plate:
Select the object.
Press the F key or select the Place on Face button from the toolbar.
6. Manipulating your Object
The menu on the sidebar displays the types of manipulations you can perform.
You can Rotate the camera by clicking and dragging anywhere in the window.
Rotate the camera. Hold the Ctrl/Cmd key and click and drag anywhere in the window.
Move an object. With the object selected, click the M key on the keyboard or click in the toolbar on the box with four arrows. Drag the arrows in the direction that you want the object to move.
Scale an object. With the object selected, press the S key on the keyboard or click the dotted box tool in the toolbar. Adjust the object by dragging the orange squares. Scale on one axis by dragging either the red, blue, or green squares.
Rotate an object. With the object selected, press the R key on the keyboard or click the angled box with the curved arrow tool in the toolbar. Drag each square in the direction you would like the object to rotate.
Precise control. Use the object manipulation values on the right side of the window. You can change between metric and imperial by checking/unchecking the box in the bottom left.
7. Resetting Printer Settings
Before printing an object, the printer settings should be set to default.
Be sure that the Printer option on the left-hand side of the screen is set as follows:
Then, click through the tabs at the top of the screen labeled “Print Settings”, “Filament Settings”, and “Printer Settings.” Ensure that each box looks like the screenshot below without a “(modified)” label.
If a modified symbol does appear, click on the orange page on the left. In the below example, it’s Extruder 1.
From the page, click the orange lock to reset to default values. After clicking it should turn grey, indicating the value has been reset.
Repeat this process until all modified indicators have been removed.
8. Deciding on Supports
If a part of your model exists without support directly beneath it, it needs supports. For example, the chair seen in the below screenshot cannot be rotated in an orientation where every piece is supported from below. In other words, it needs supports.
Although some prints can be rotated to avoid using supports (see the screenshot in step 5), oftentimes, you will need to add supports. To do so, check the box next to Generate Support in the right side of the Print Settings menu.
Supports can be pulled away once the print is finished.
Note: even if using supports, the object should still be placed in an orientation that minimizes the amount of supports needed for the object (see step 5).
9. Determining the Infill
Infill provides support from inside the object. Most objects should have between a 5% and 15% infill. The more infill you add, the stronger your print will be and the longer it will take to print.
To change the infill, adjust the Infill from the dropdown located on the right side of the screen.
10. Preparing for the Printer
SD cards for the Prusa 3D printers are in the SD card slot located on the left side of the printer’s screen. Remove the card and insert it into the computer using the black adapter plugged into the back. Then, follow the steps below.
In the PrusaSlicer software, click the Plater tab at the top of the screen, then click the Slice Now button in the bottom right.
Sliced objects show each layer that the printer will print. Orange parts are the objects and green parts are the generated supports (if applicable).
Once your object has been sliced, click the Export G-code button in the bottom right. Select the SD card as your folder.
Note: If you receive an error stating that there is an object with no extrusions in the first layer, this means that the object needs supports before it can print. Refer back to step 8 to see how to add supports.
11. Starting your Print
Insert the SD card with your G-code generated by the PrusaSlicer software into the SD card slot located on the left side of the printer’s screen.
Press the dial in to wake the printer.
Rotate the dial on the printer to navigate to Print From SD.
Press the dial to select that option.
Find your file from the list and press the dial to start the print.
The printer will heat up and begin its calibration process.
Once it’s ready, it will begin printing. Please wait at the printer to ensure your object actually begins printing. If your print does not start, ask a Media Center employee for help.
12. Removing your Object from the Build Plate
Peel up the build plate from the printer. Remove your object by gently bending the build plate and pulling the object off the surface. If it’s stuck, you may have to use something to carefully scrape it off the surface, paying extra attention to not damage the plate.
Remember to remove any and all filament from the print surface so that the plate is completely clean before being placed back onto the printer.
If you used supports, you may have to use pliers to carefully remove them from your print.
Place the plate back onto the 3D printer and push it back ensuring the screws align with the indent on the back of the plate.
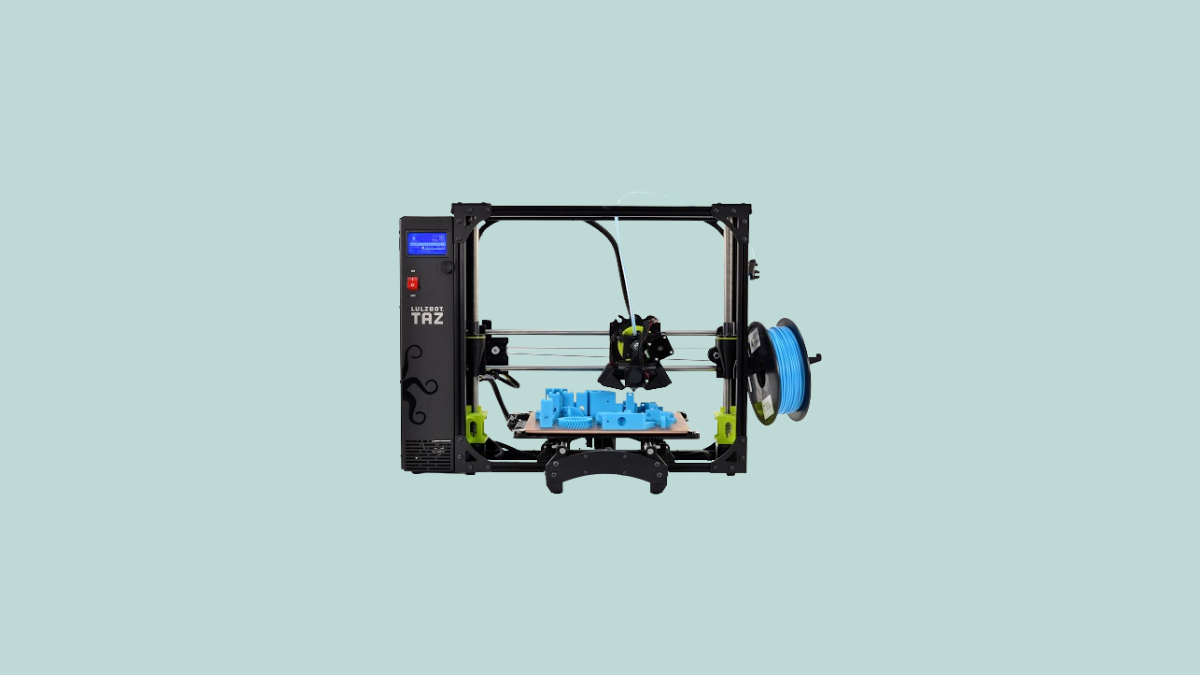
3D printers are powerful tools for visualization, invention, and creation. In the Media Center, we are pleased to offer you access to these printers, but ask that you please contact a member of the Academic Technology department to learn proper use and ensure we can continue to offer access to 3D printing to all.
1. Saving your Object
You will want to make sure the object you want to print is saved as an STL, OBJ, X3D or 3MF file type. The file type is listed after the file name as shown below.
2. Preparing your Object for Printing
On the computer located next to the 3D printers in The Makery, sign into the Temp account using the below login information:
User: Temp Pass: dson1223!
3. Opening the CURA Software
From the desktop, select the green Cura icon.
The software should open a blank project. If it instead loads a previous project, select File > New Project.
4. Importing your file into CURA
In Cura, click on the folder icon in the top left of the screen and select your file. Note: you can select multiple files to import by holding Ctrl on your keyboard, but you will need to properly arrange the objects on the platter prior to printing (see step 6).
5. Placing Objects on the Build Plate
The build plate is the grid under the object that defines the area that the printer is capable of printing within.
To create a 3D object, the printer stacks layers from the bottom up which means that each layer must be supported. This usually involves placing the large, flat side of the object onto the build plate.
For example, if printed the table in the below image, you would want to flip the table onto it’s surface to ensure there is ample support for the print.
To rotate the object to the face that’s on the build plate:
Select the object.
Click the “Rotate” button in the left-hand menu.
Use the red, green, and blue wheels to rotate the object to the desired orientation for printing.
Click the Lay Flat button located beside the rotate button to ensure the desired face will be placed directly onto the build plate.
6. Manipulating your Object
The menu on the sidebar displays the types of manipulations you can perform.
Rotate the camera. Hold the Control Key and click and drag anywhere in the window.
Move an object. With the object selected, click the icon of the box with a single large arrow. Then, drag the arrow in the direction that you want the object to move.
Scale an object. With the object selected, click the icon with three arrows and a box. Scale the object by dragging any of the small boxes that have appeared around the object.
Rotate an object. With the object selected, click the icon with the curved arrow. Drag each square in the direction you would like to rotate the object.
Precise control. Use the object manipulation values that appear in the menus beside each of the above icons when selected.
7. Resetting Printer Settings
Before printing an object, the printer settings should be set to default.
Be sure that the “Profile” option on the right-hand side of the screen is set to “Standard” or “Highspeed” (other profiles don’t add much benefit and are time consuming):
Then, ensure that no star appears next to the selected profile. The star symbol, depicted below, indicates modifications have been made to the profile.
If the star symbol appears next to the selected profile:
Click the “Profile” dropdown and re-select the profile you want to use.
A message will appear asking if you would like to “Discard or Keep Changes”. Click Discard. The star should disappear.
8. Deciding on Supports
If a part of your model exists without support directly beneath it, it needs supports. For example, the chair seen in the below screenshot cannot be rotated in an orientation where every piece is supported from below. In other words, it needs supports.
Although some prints can be rotated to avoid using supports (see the screenshot in step 5), oftentimes, you will need to add supports. To do so, check the box next to Generate Support in the right side of the Print Settings menu.
Supports can be pulled away once the print is finished.
Note: even if using supports, the object should still be placed in an orientation that minimizes the amount of supports needed for the object (see step 5).
9. Determining the Infill
Infill provides support from inside the object. Most objects should have between a 5% and 15% infill. The more infill you add, the stronger your print will be and the longer it will take to print.
To change the infill, adjust the Infill slider located on the right side of Print Setup menu.
10. Selecting the Material
Please don’t adjust the “Material” dropdown” menu. If you want to change the 3D printer material, please ask a Media Center employee.
11. Preparing for the Printer
In the Cura software, click the Monitor tab at the top of the screen.
Click Connect and wait until the “USB Printing, Connected Via USB” message is displayed at the top. Note: You may have to try connecting a couple of times before this message is displayed.
12. Starting your Print
In the Cura software, click the “Start Print” button at the bottom right.
The printer will heat up and begin its calibration process.
Once it’s ready, it will begin printing. Please wait at the printer to ensure your object actually begins printing. If your print does not start, ask a Media Center employee for help.
13. Removing your Object from the Build Plate
Peel up the build plate from the printer. Remove your object by gently bending the build plate and pulling the object off the surface. If it’s stuck, you may have to use something to carefully scrape it off the surface, paying extra attention to not damage the plate.
Remember to remove any and all filament from the print surface so that the plate is completely clean before being placed back onto the printer.
If you used supports, you may have to use pliers to carefully remove them from your print.